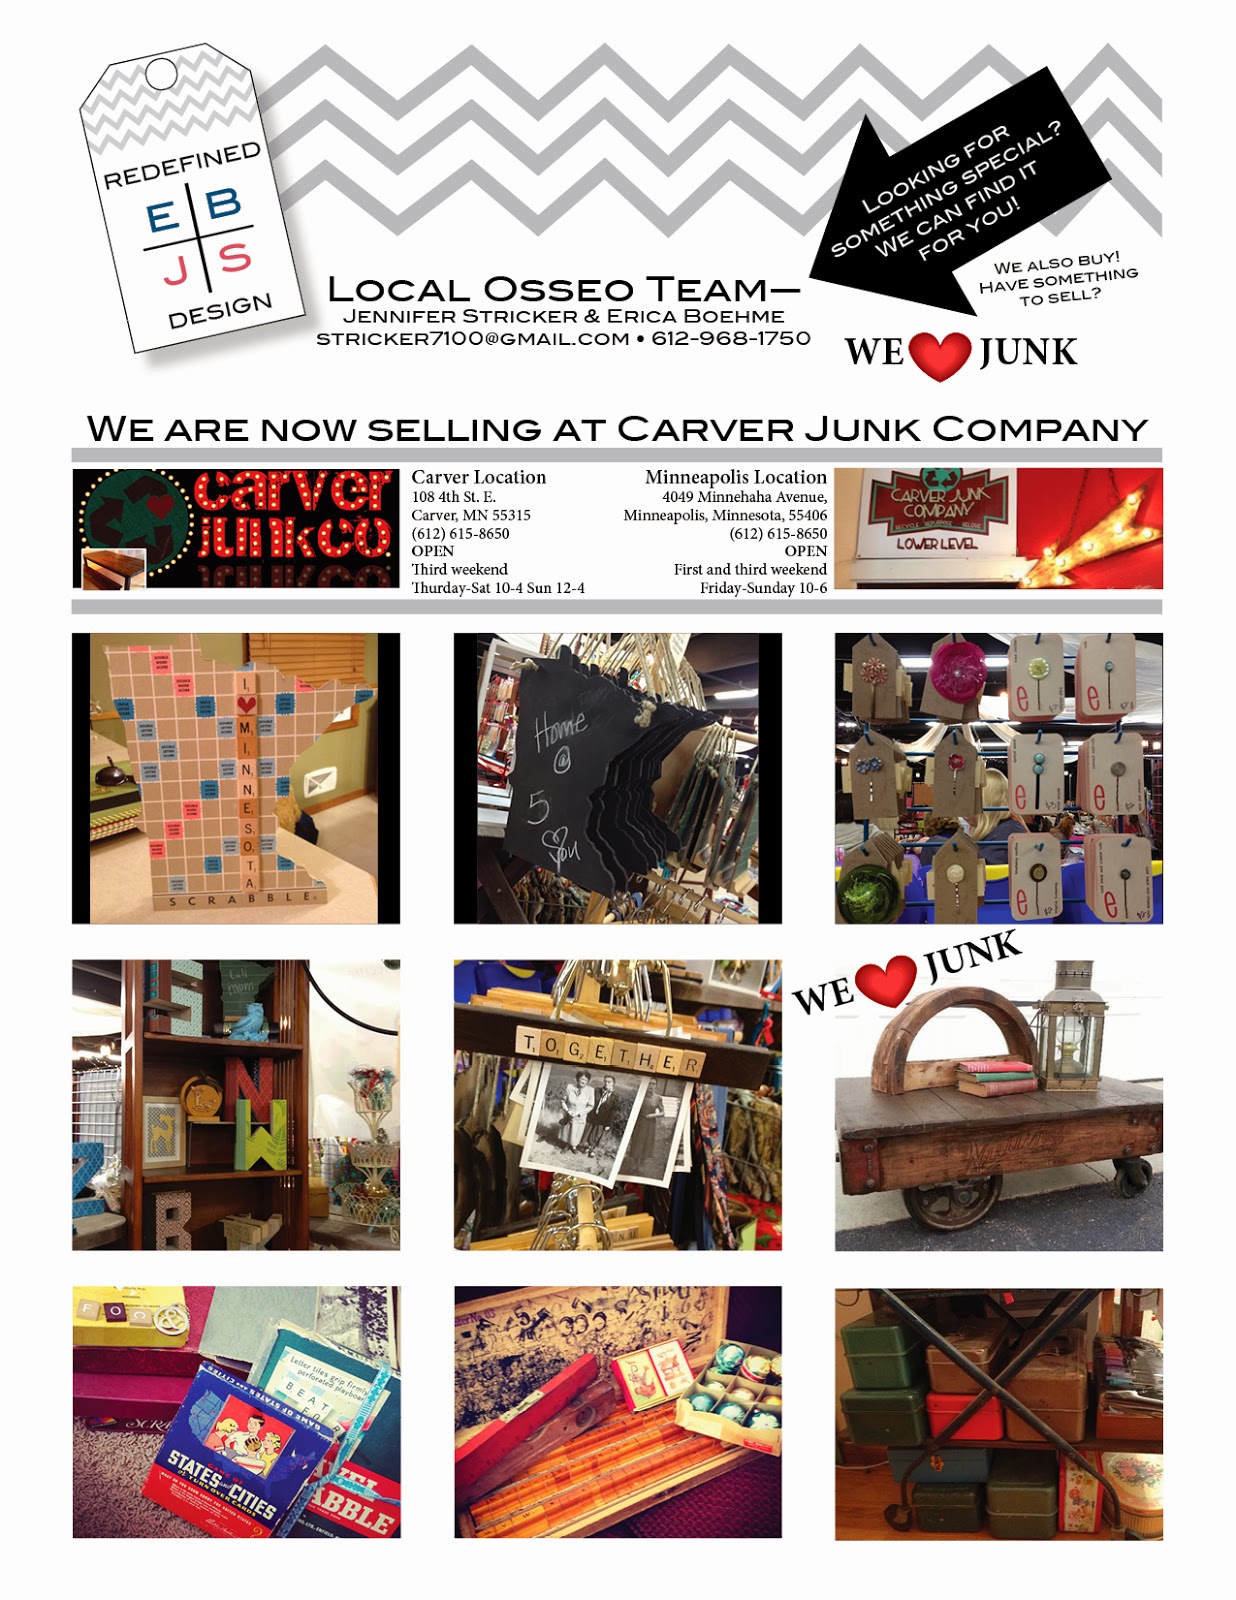
As you might (or might not) know I sell my thrifty finds at Carver Junk Company.
They have 2 locations:
Carver
108 4th St. E. Carver, MN 55315
(612) 615-8650
OPEN
Third weekend
Thurday-Sat 10-4 Sun 12-4
Minneapolis
4049 Minnehaha Avenue,
Minneapolis, Minnesota, 55406
(612) 615-8650
OPEN
First and third weekend
Friday-Sunday 10-6
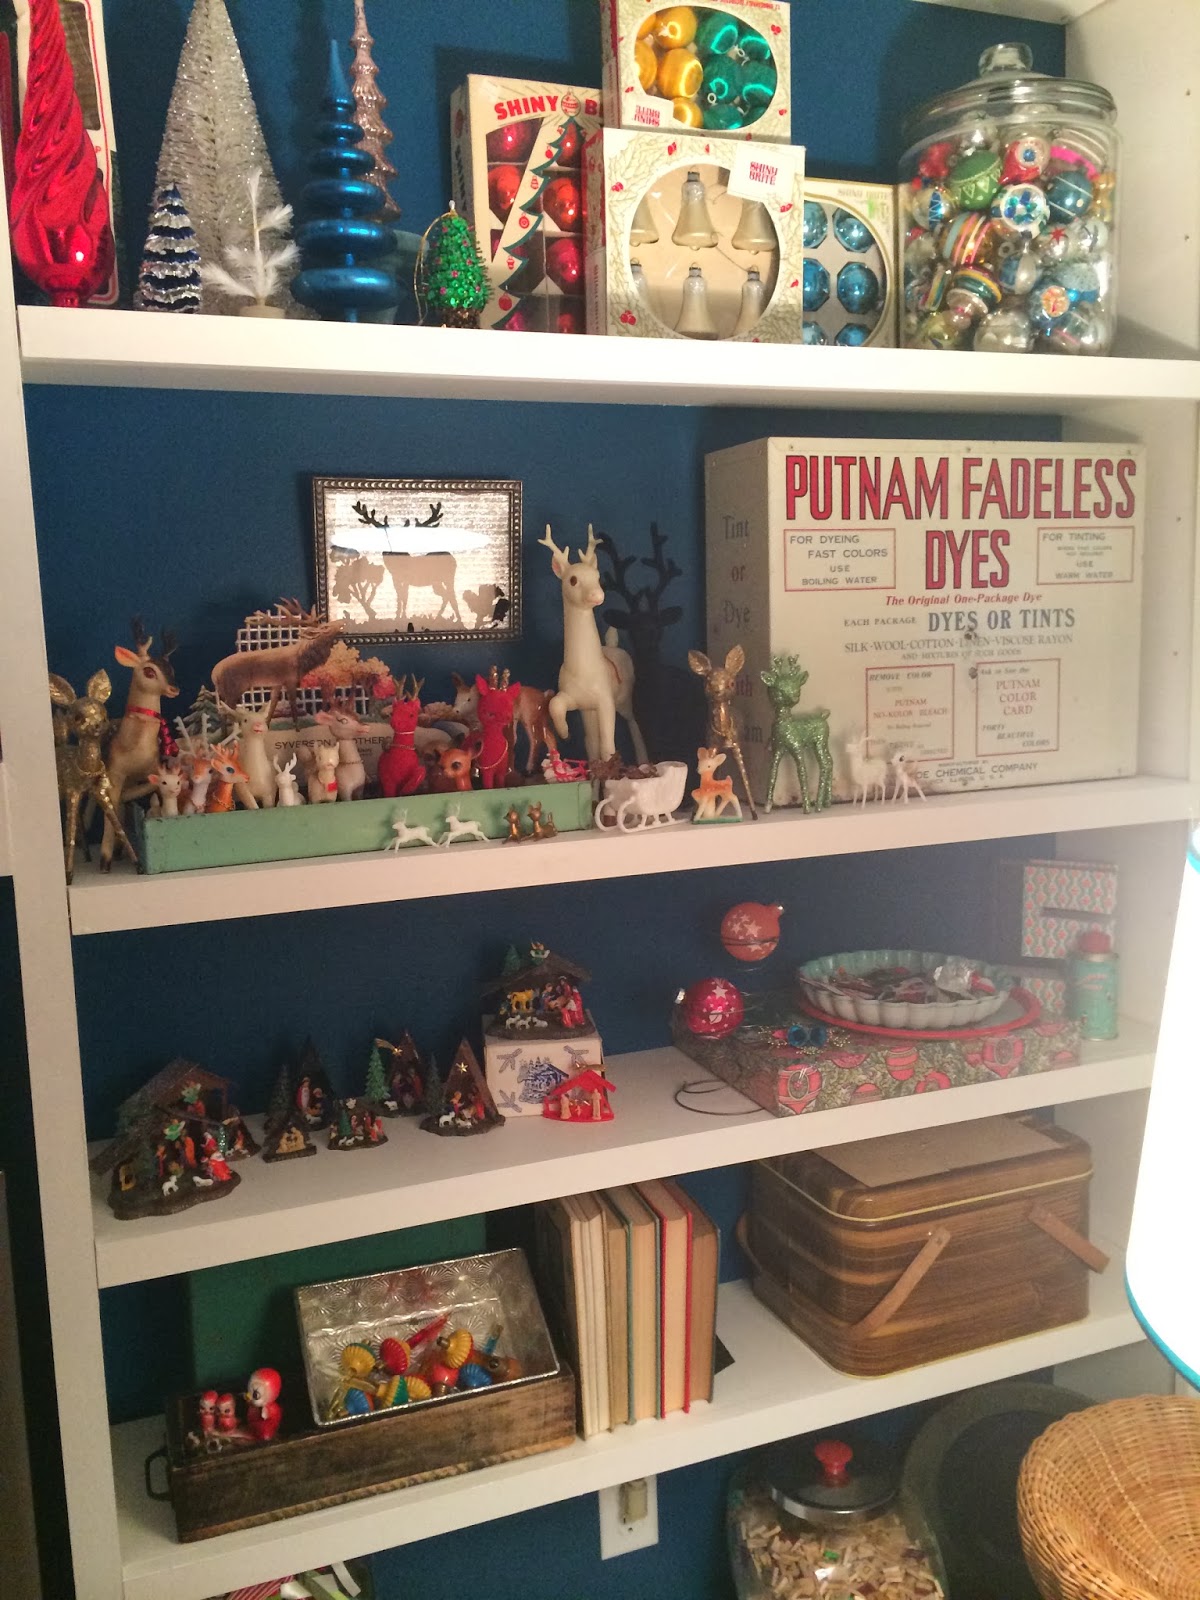
Here are some items that will be going to the shops—
Prices still need to be determined.
If you are interested in any of them, please let me know.
Here is our flyer, share with your friends!